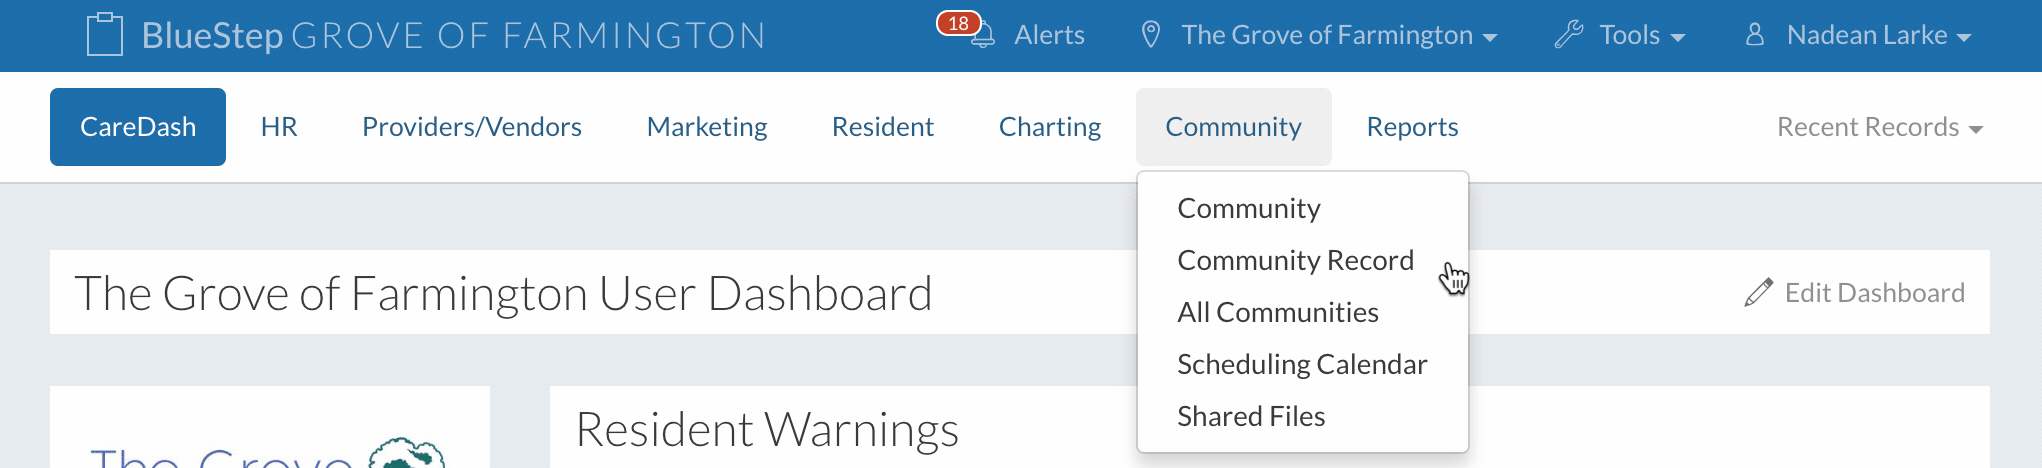
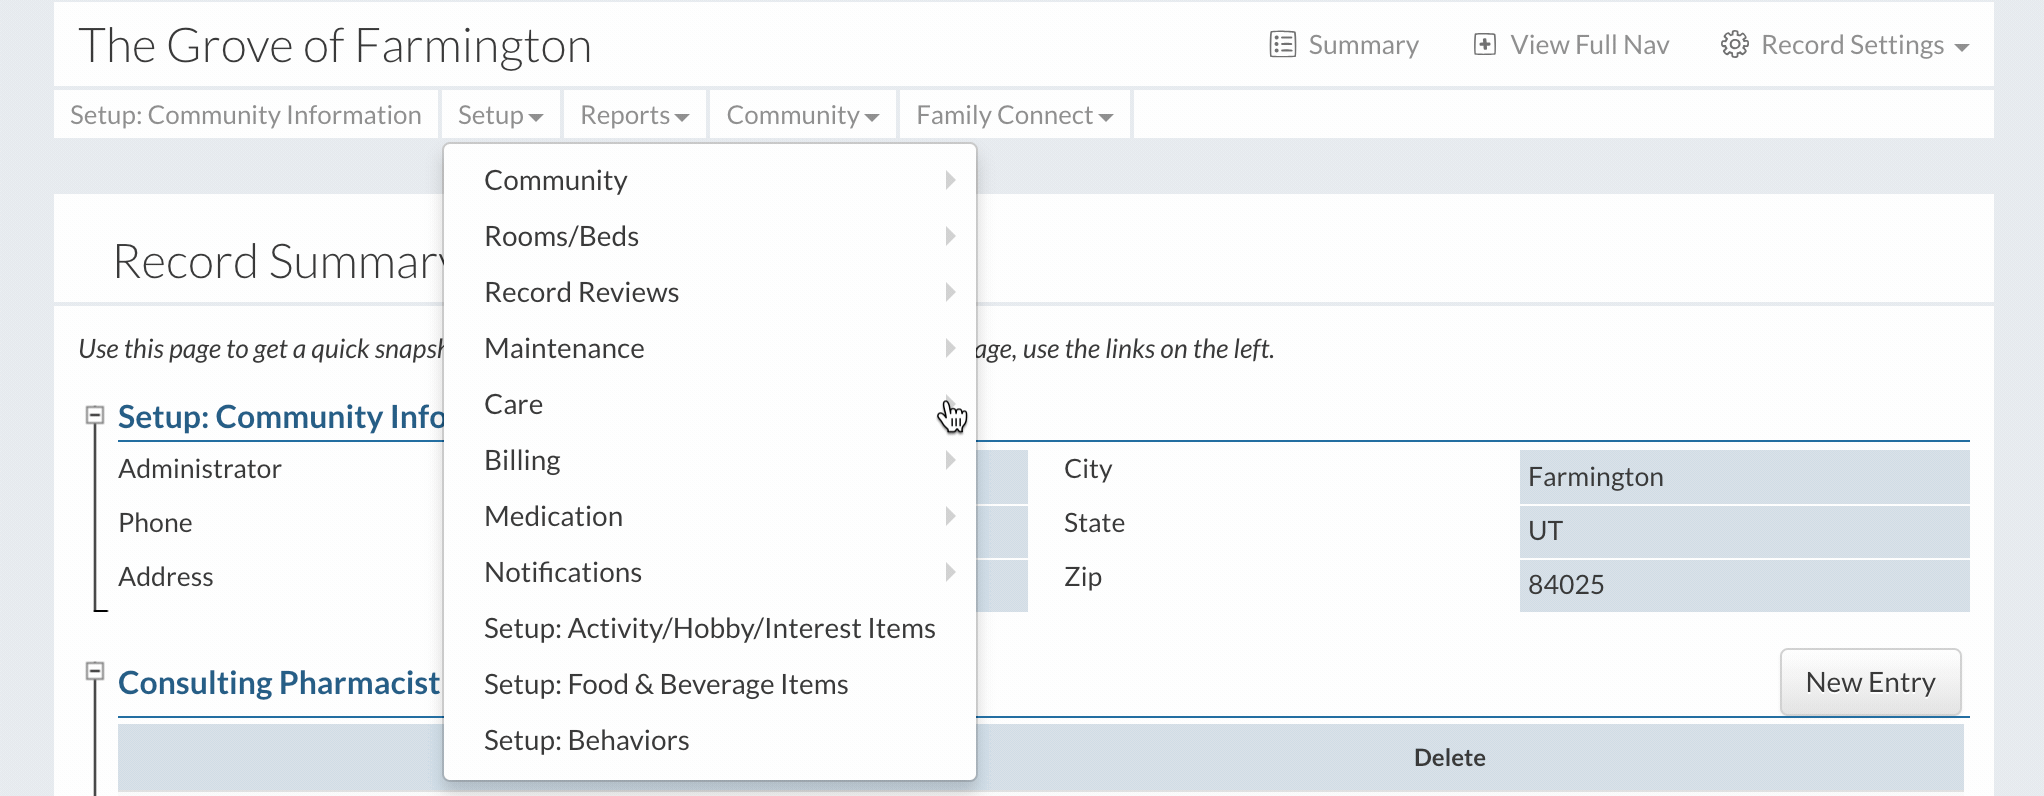
In This Help TopicSetup: Resident WarningsSetup: Resident Warnings Setup the Resident Warning System
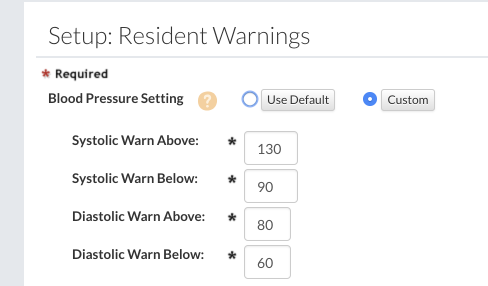
Each section has a default setting. These can be adjusted by clicking the “Custom” button. Systolic is set to warn above 130 or below 90. Diastolic is set to warn above 80 or below 60. These warnings can be adjusted to a higher or lower number. These warnings will be set at the community level.
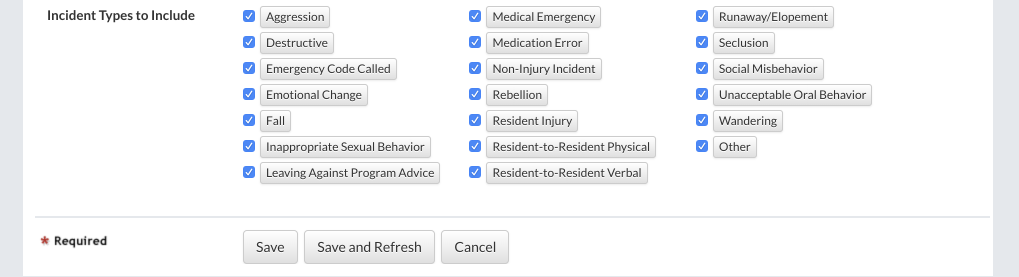
In the “Incident Types to Include” section incident types can be selected or deselected. Selected incident types will display in the Resident Warning module.
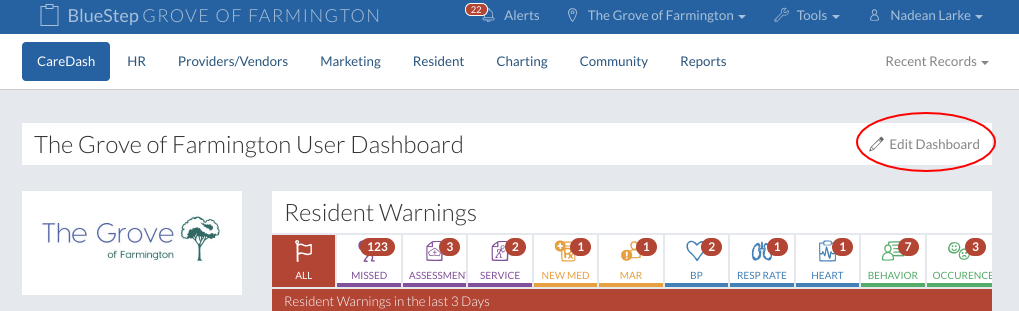
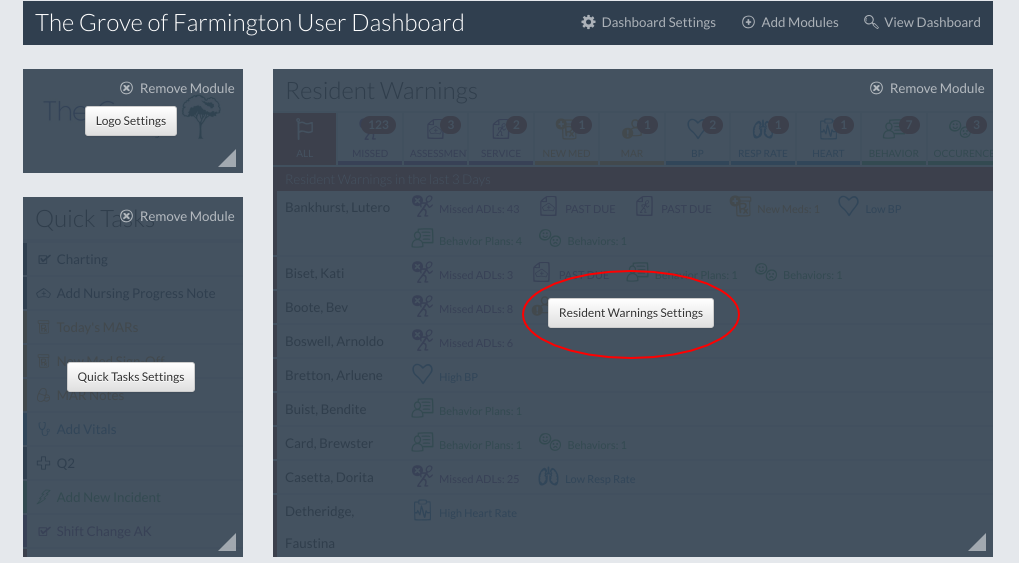
Activate Resident Warnings on the Dashboard
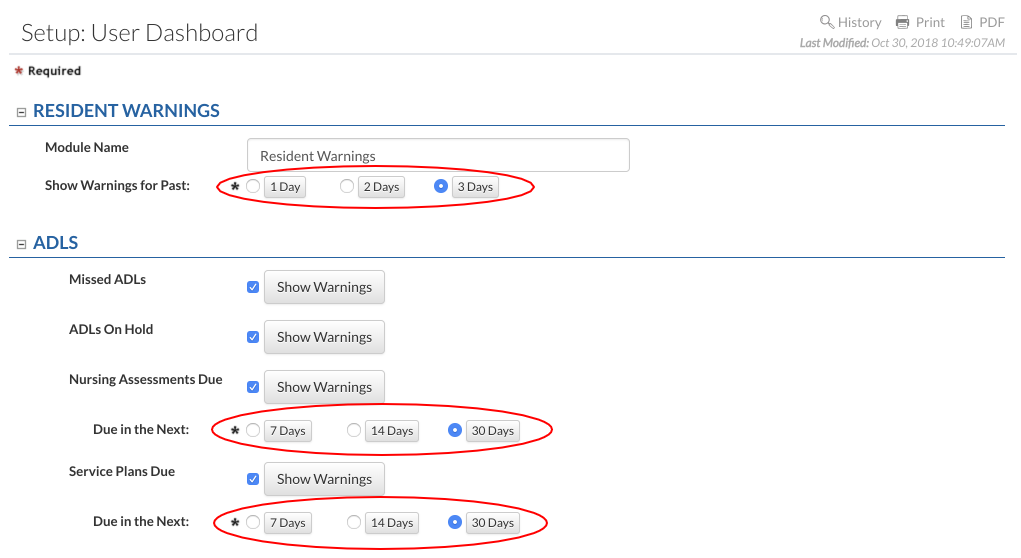
Warnings about Nursing Assessments and Service Plans can trigger 7, 14, or 30 days before they are due according to the selection made.
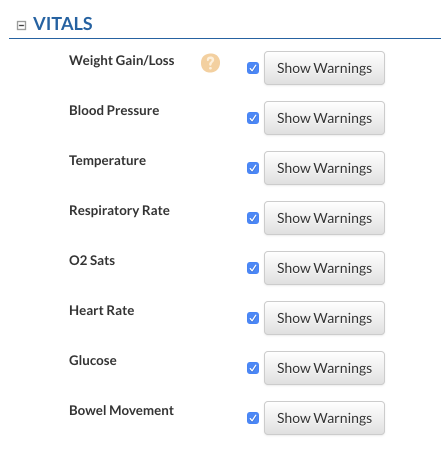
Warnings are received for the selected vital signs chosen in the “Vitals” section.
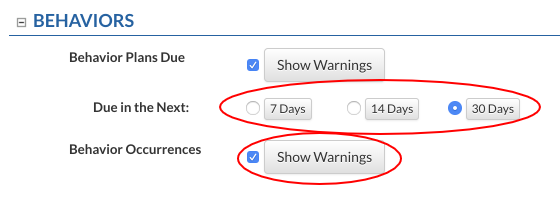
Warnings about Behavior Plans can trigger 7, 14, or 30 days before they are due according to the selection made. Behavior Occurrences show all occurrences that have been tracked within the last one to three days.
Click on any Resident Warnings tab to see more detailed source documentation.
|