How to Navigate Resident Warnings
Learn how to navigate the Resident Warning module. If Resident Warnings haven’t been set up yet, visit the Setup: Resident Warnings help topic.
Navigate the Resident Warnings Module
- Once the Resident Warnings have been set up, tabs will appear with the number of Resident Warnings pertinent to each tab.
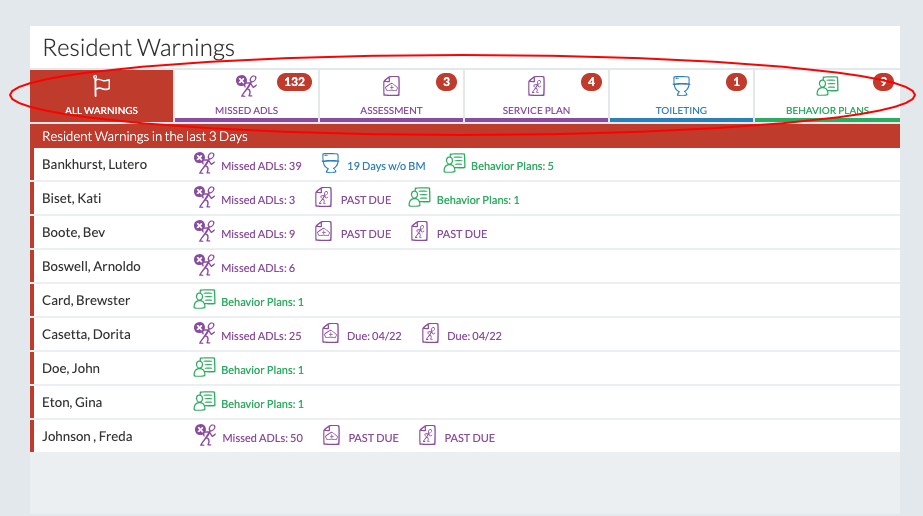
- The tabs show Resident Warnings for the entire facility.
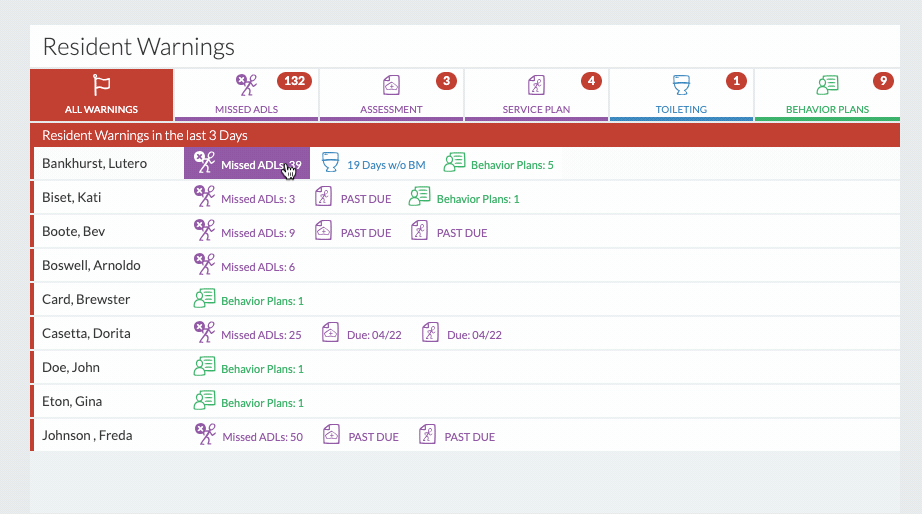
- Under the "All Warnings" tab, all the Resident Warnings for the facility are displayed individually per resident in alphabetical order.
- The other tabs display Resident Warnings according to category, also displayed in alphabetical order.
- Clicking on any of the Resident Warnings will lead directly to the record linked to it.
- Resident Warnings are triggered when they reach certain parameters that have been set up in the community record.