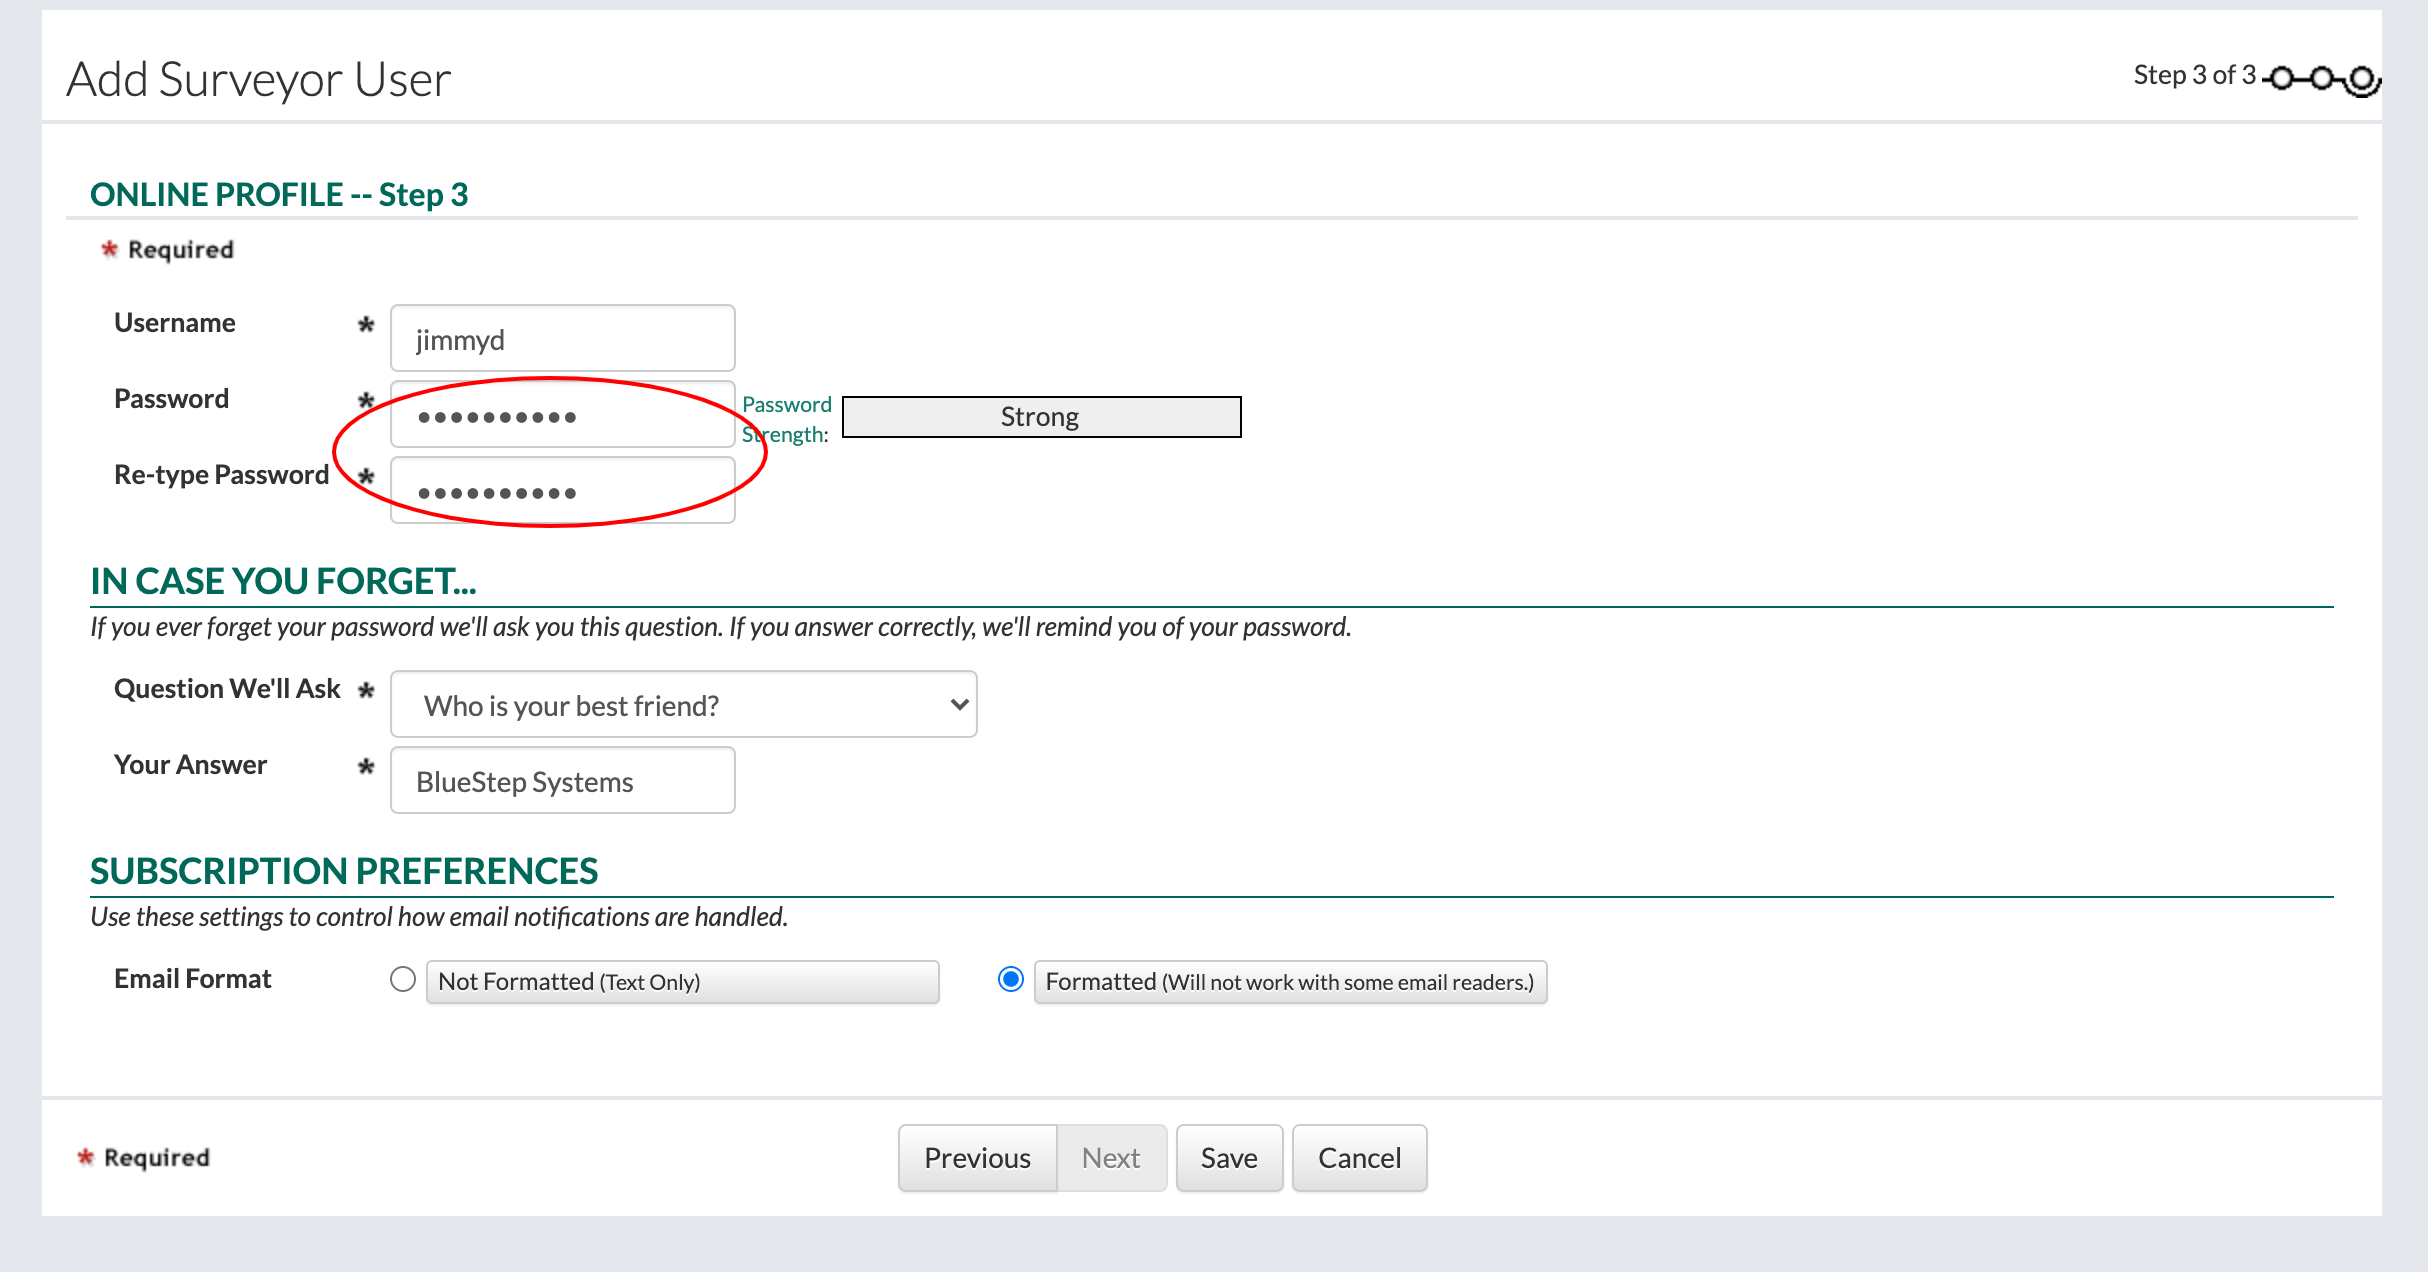
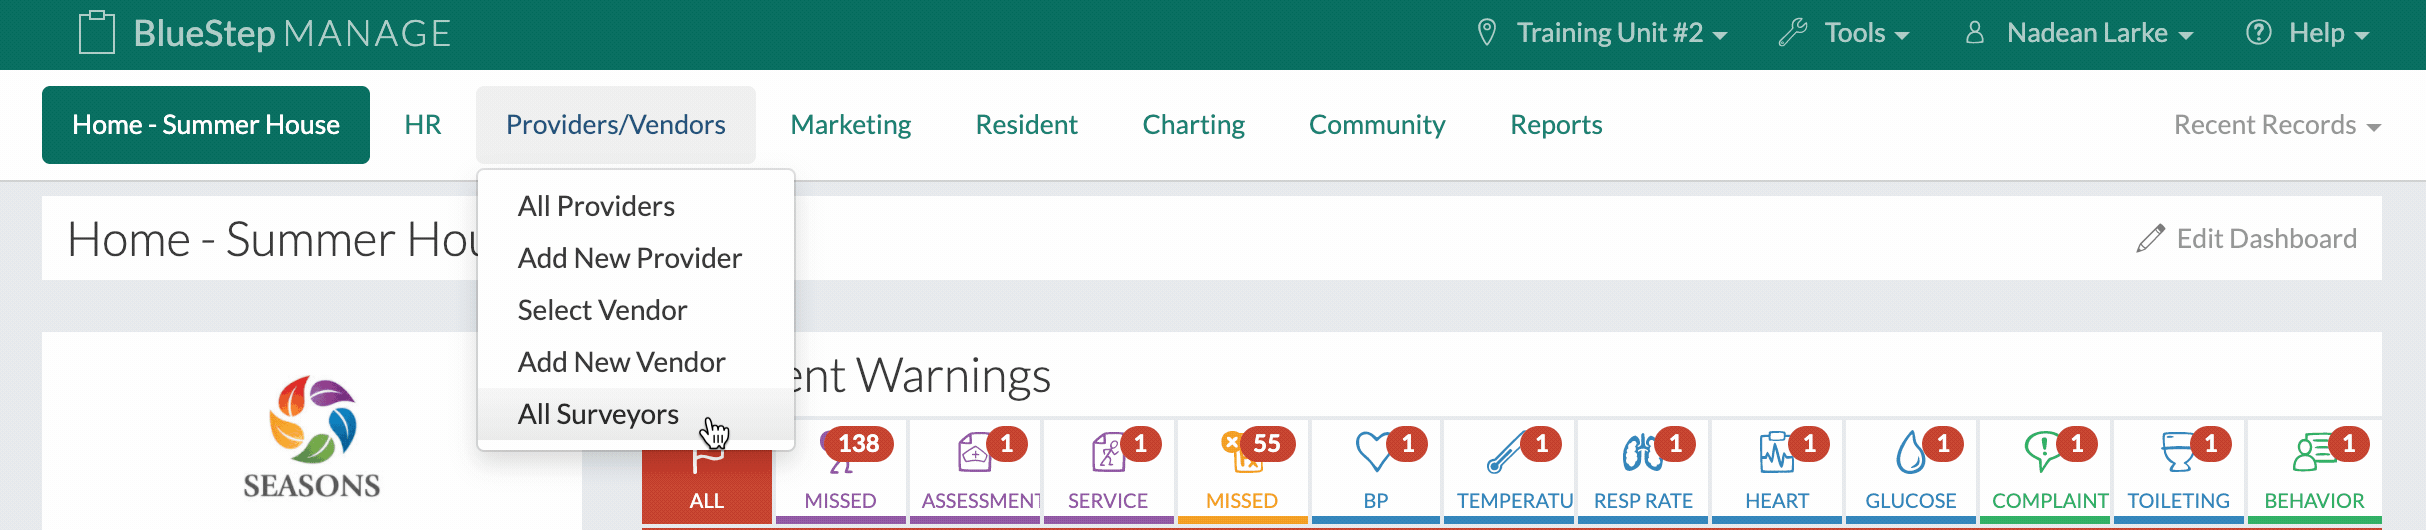
Login

BlueStep Survey Portal

The Survey Portal provides a secure environment for the survey team to review resident records and documents. It also provides the BlueStep user control over what information is shared with one surveyor or a group of surveyors.

How to Add a Surveyor

If your community has more than one home/unit, and you want a surveyor to have access to residents in multiple homes/units, make sure to add the surveyor at the top (umbrella) level. Adding a surveyor this way ensures that the surveyor will only need one username and one password to access information in multiple homes/units.

  1. To view a list of surveyors or to add a new surveyor, click on "All Surveyors" under the "Providers/Vendors" tab.
  2. Click the "Add Surveyor" button.
  3. Fill out the forms.
    • The "Number of Days Back to View" field will determine how far back a surveyor will be able to see a resident's information. For example, if "90" is entered into the field, the surveyor will be able to access the last 90 days of a resident's information.
    • The "Customize # Days For" field allows for a custom number of days to be entered for specific types of evaluations.
    • When entering a password for a surveyor, note that the surveyor won't be prompted to change the password when they first log in. The password entered in this step will be the password that the surveyor will use.
  4. Click the "Save" button to finish.

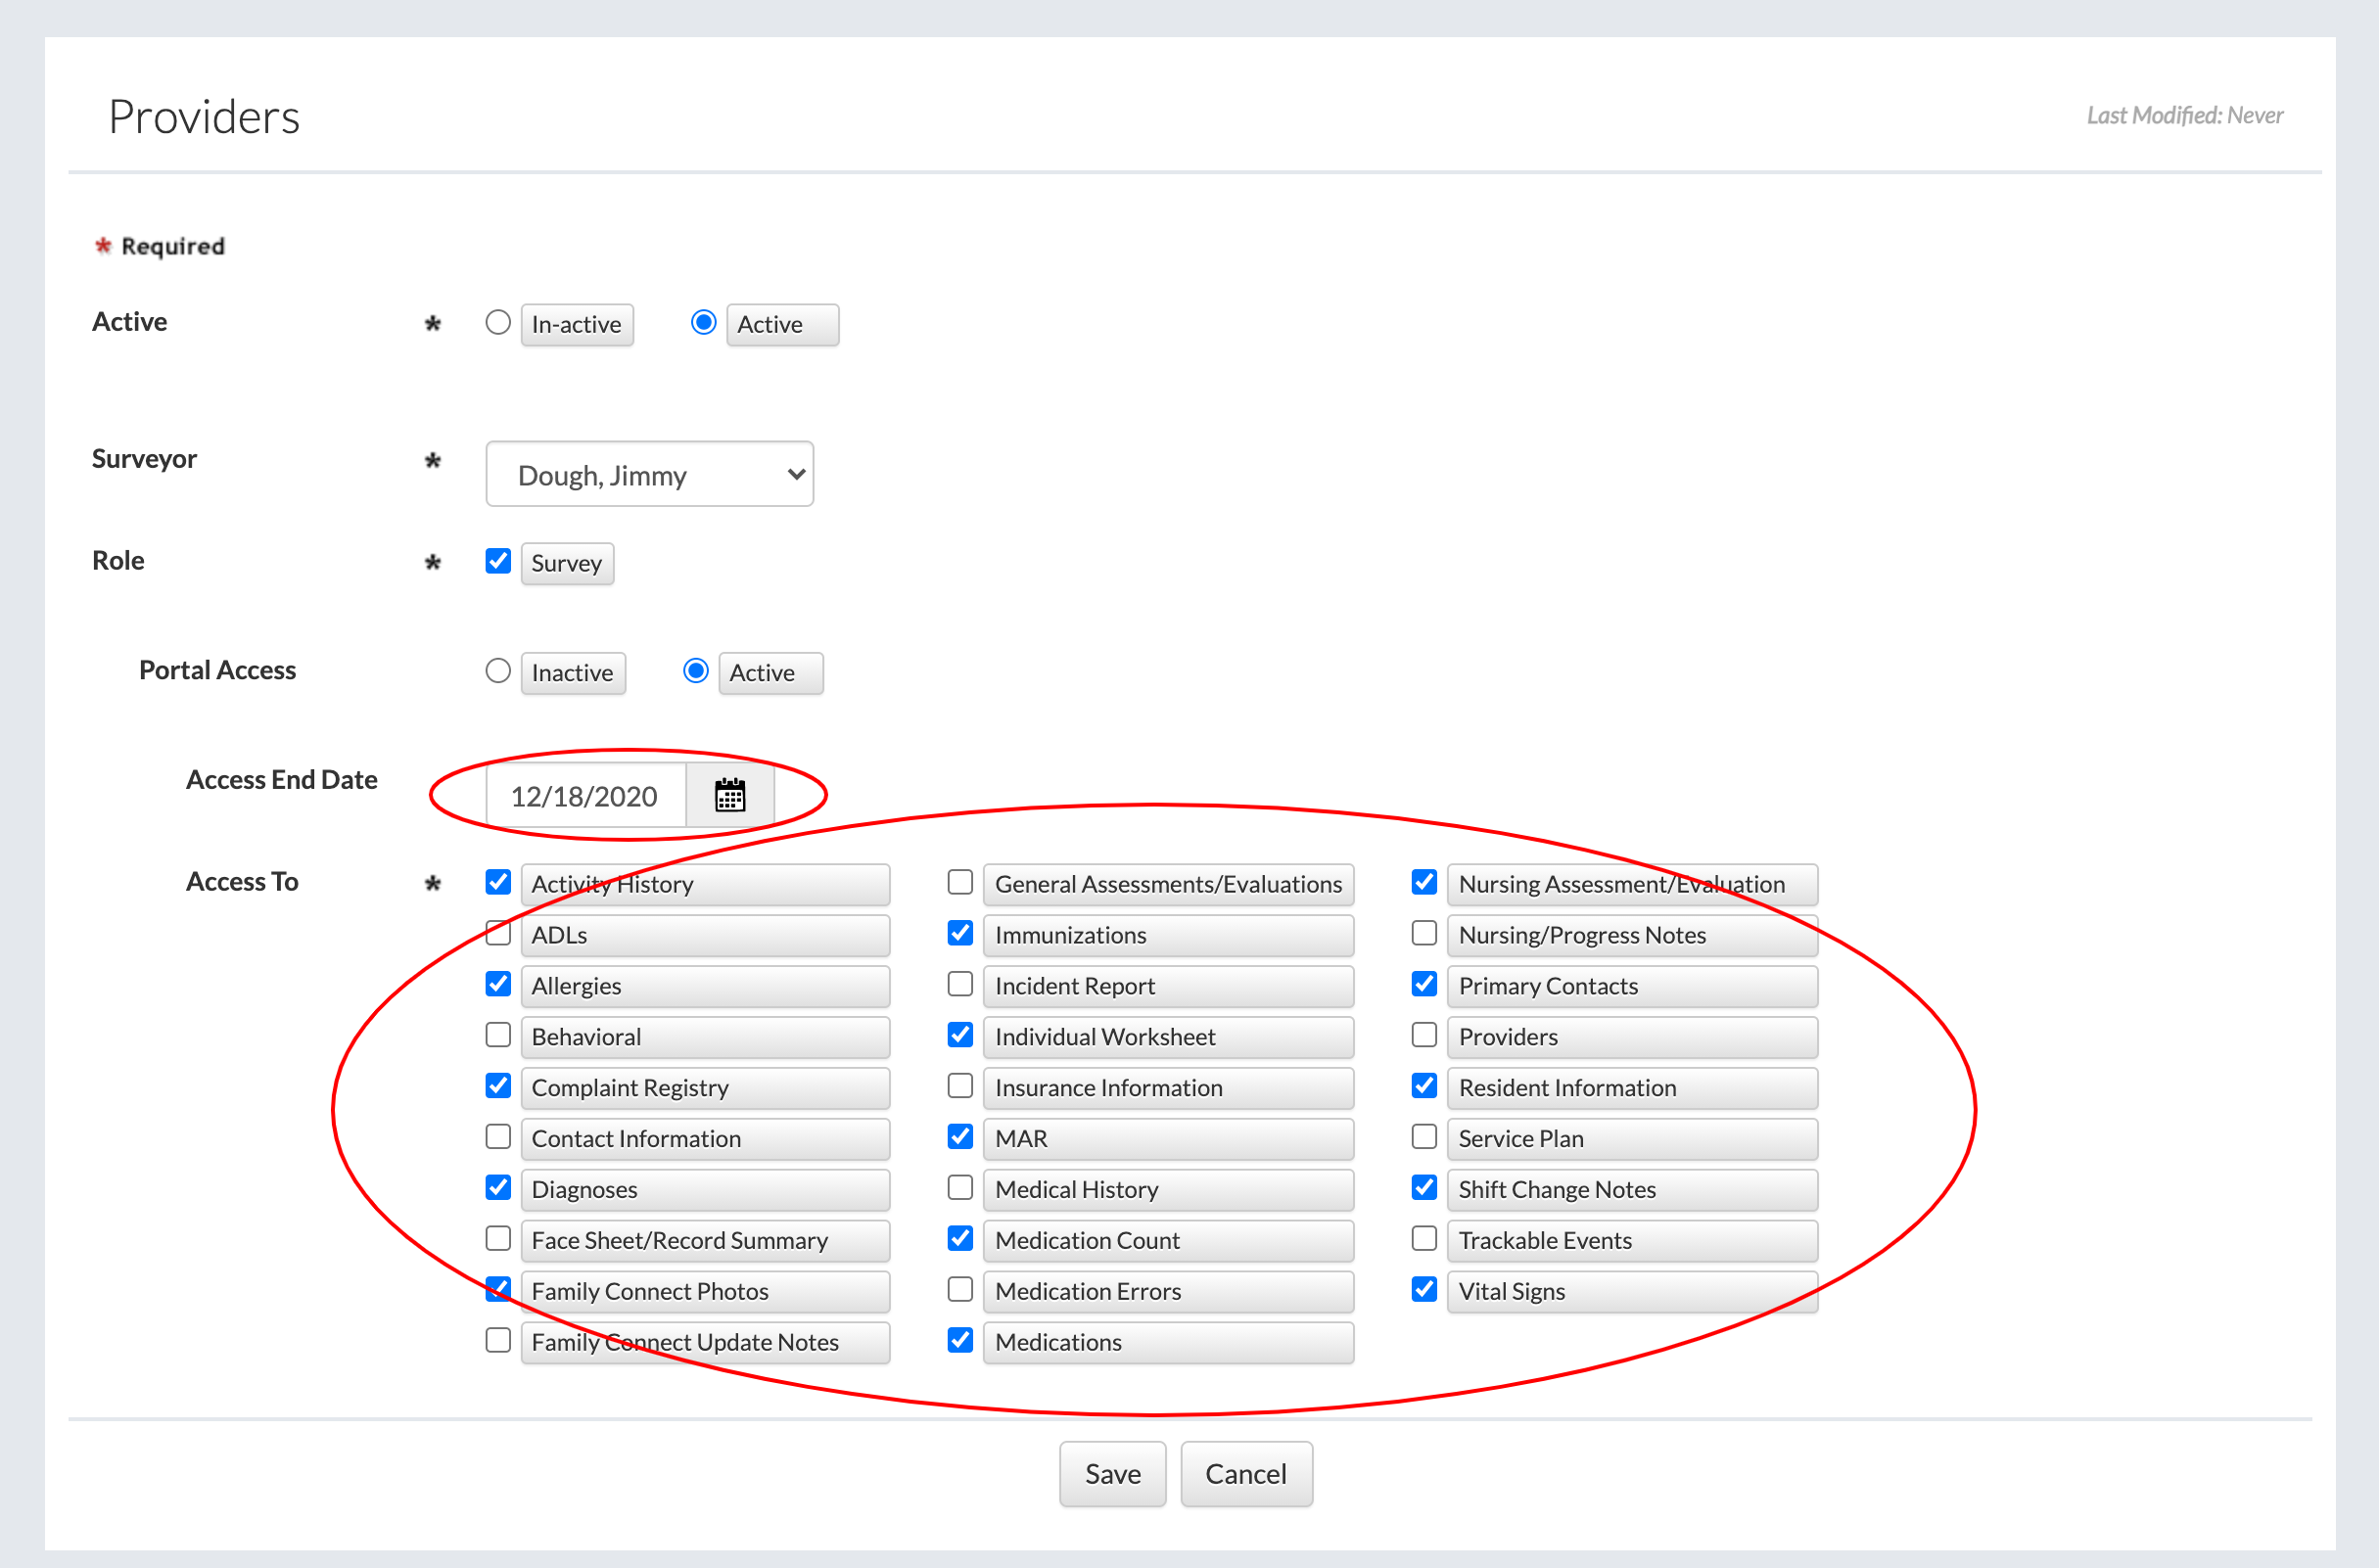
How to Give Access to Resident Information

  1. Click on "Select Resident" under the "Resident" tab.
  2. Select a resident.
  3. Click on "Providers" under the "Resident Information" dropdown.
  4. Scroll down to the bottom of the page to see the list of surveyors under the "Surveyors" header. Click on the header to expand/collapse it.
    • This list shows which surveyors currently have access to this resident's record, and surveyors who have previously had access. Note that some of the surveyors' are inactive.
  5. Click the "Add Survey Access" button.
  6. Fill out the form.
    • The "Access End Date" provides a way to choose a specific end date for the surveyor's access to this resident's record. Based on the date entered in this field, the system will automatically revoke access from the surveyor to view this resident's information.
    • The "Access To" field provides a way to grant the surveyor access only to specific parts of the resident's record. Note that the surveyor will only be able to read the resident's information, they won't be able to change the information at all.
  7. Click the "Save" button to finish.

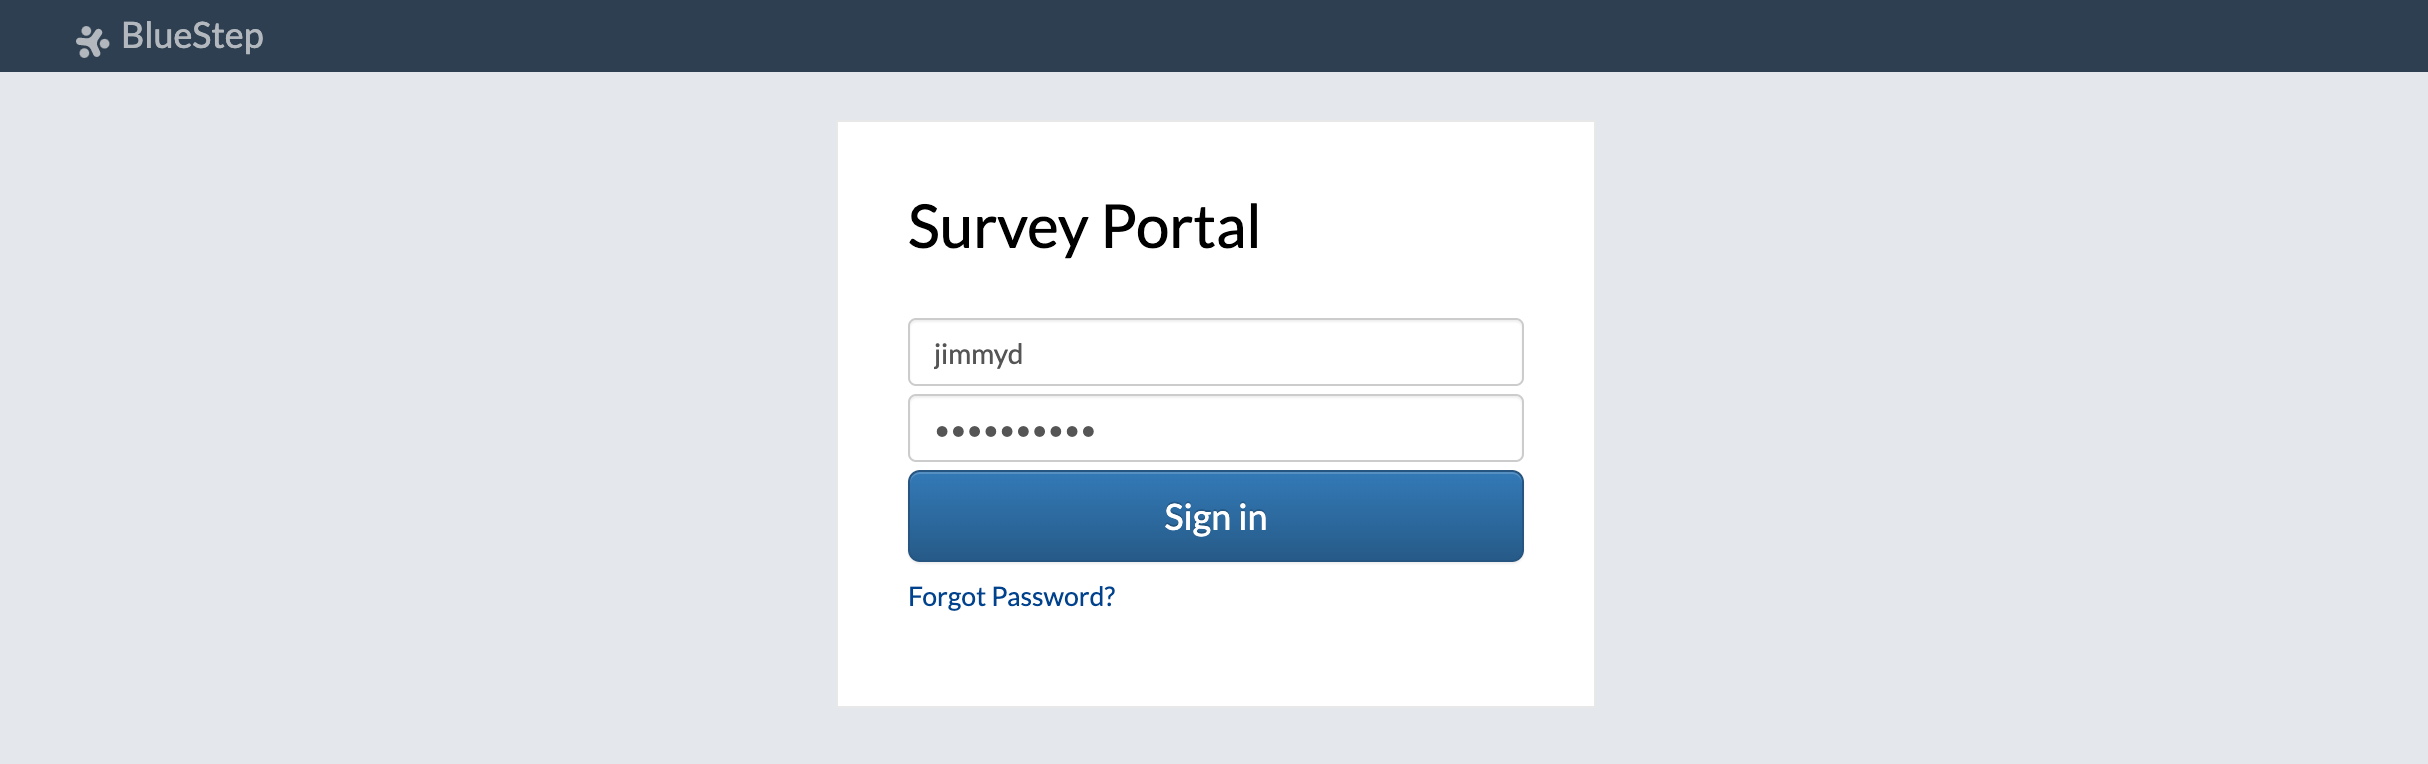
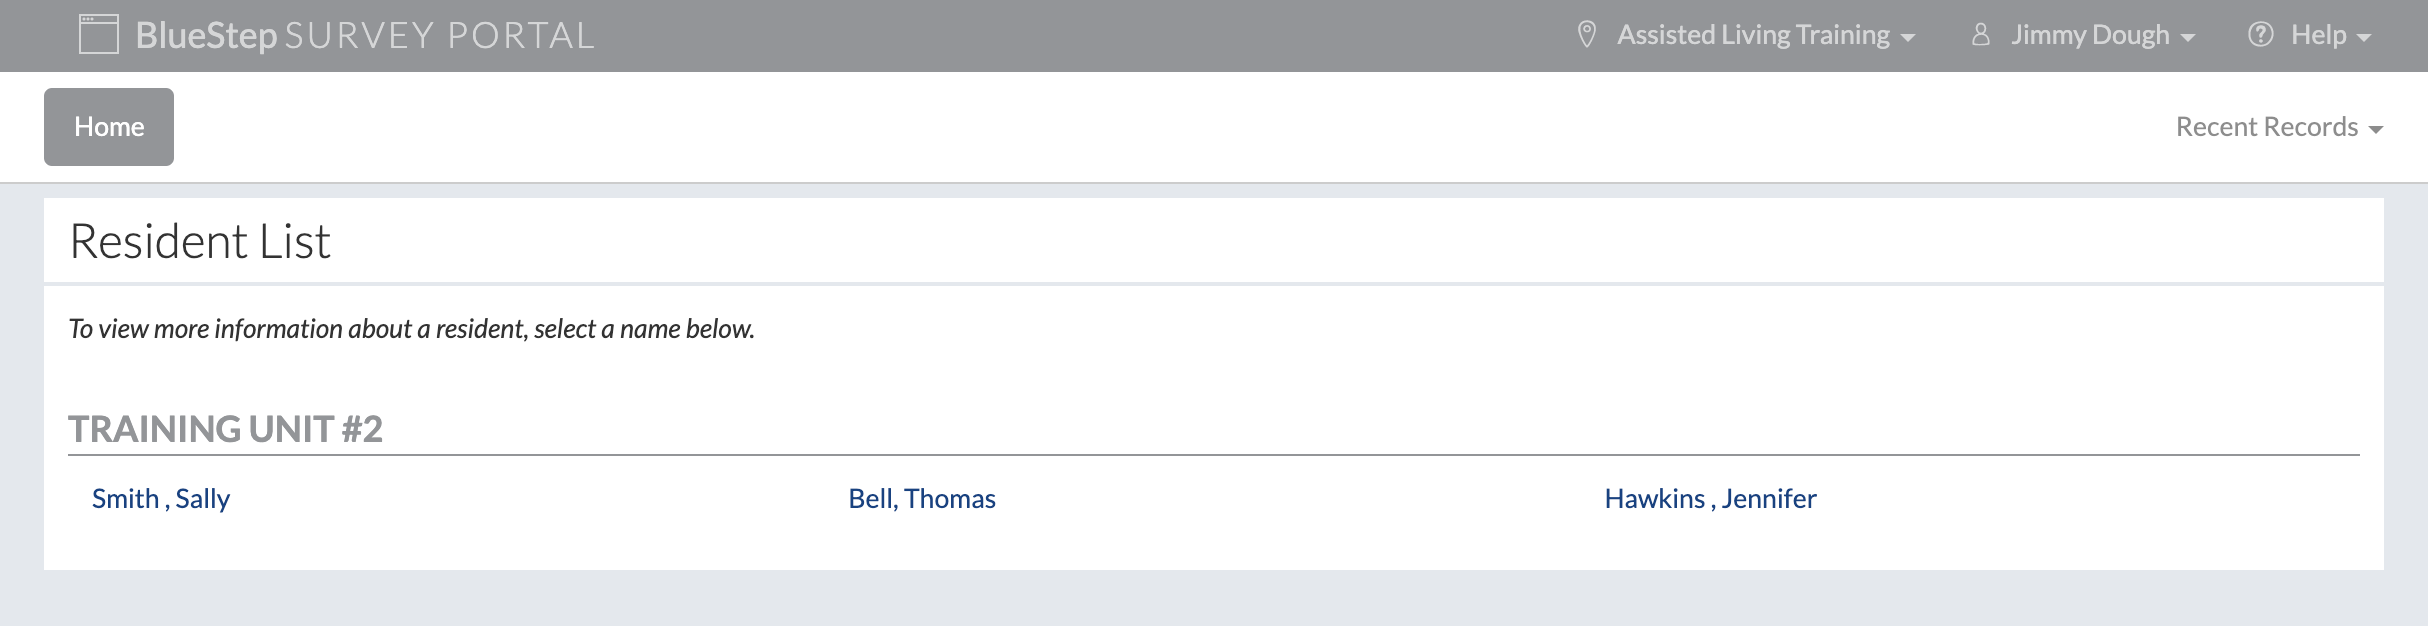
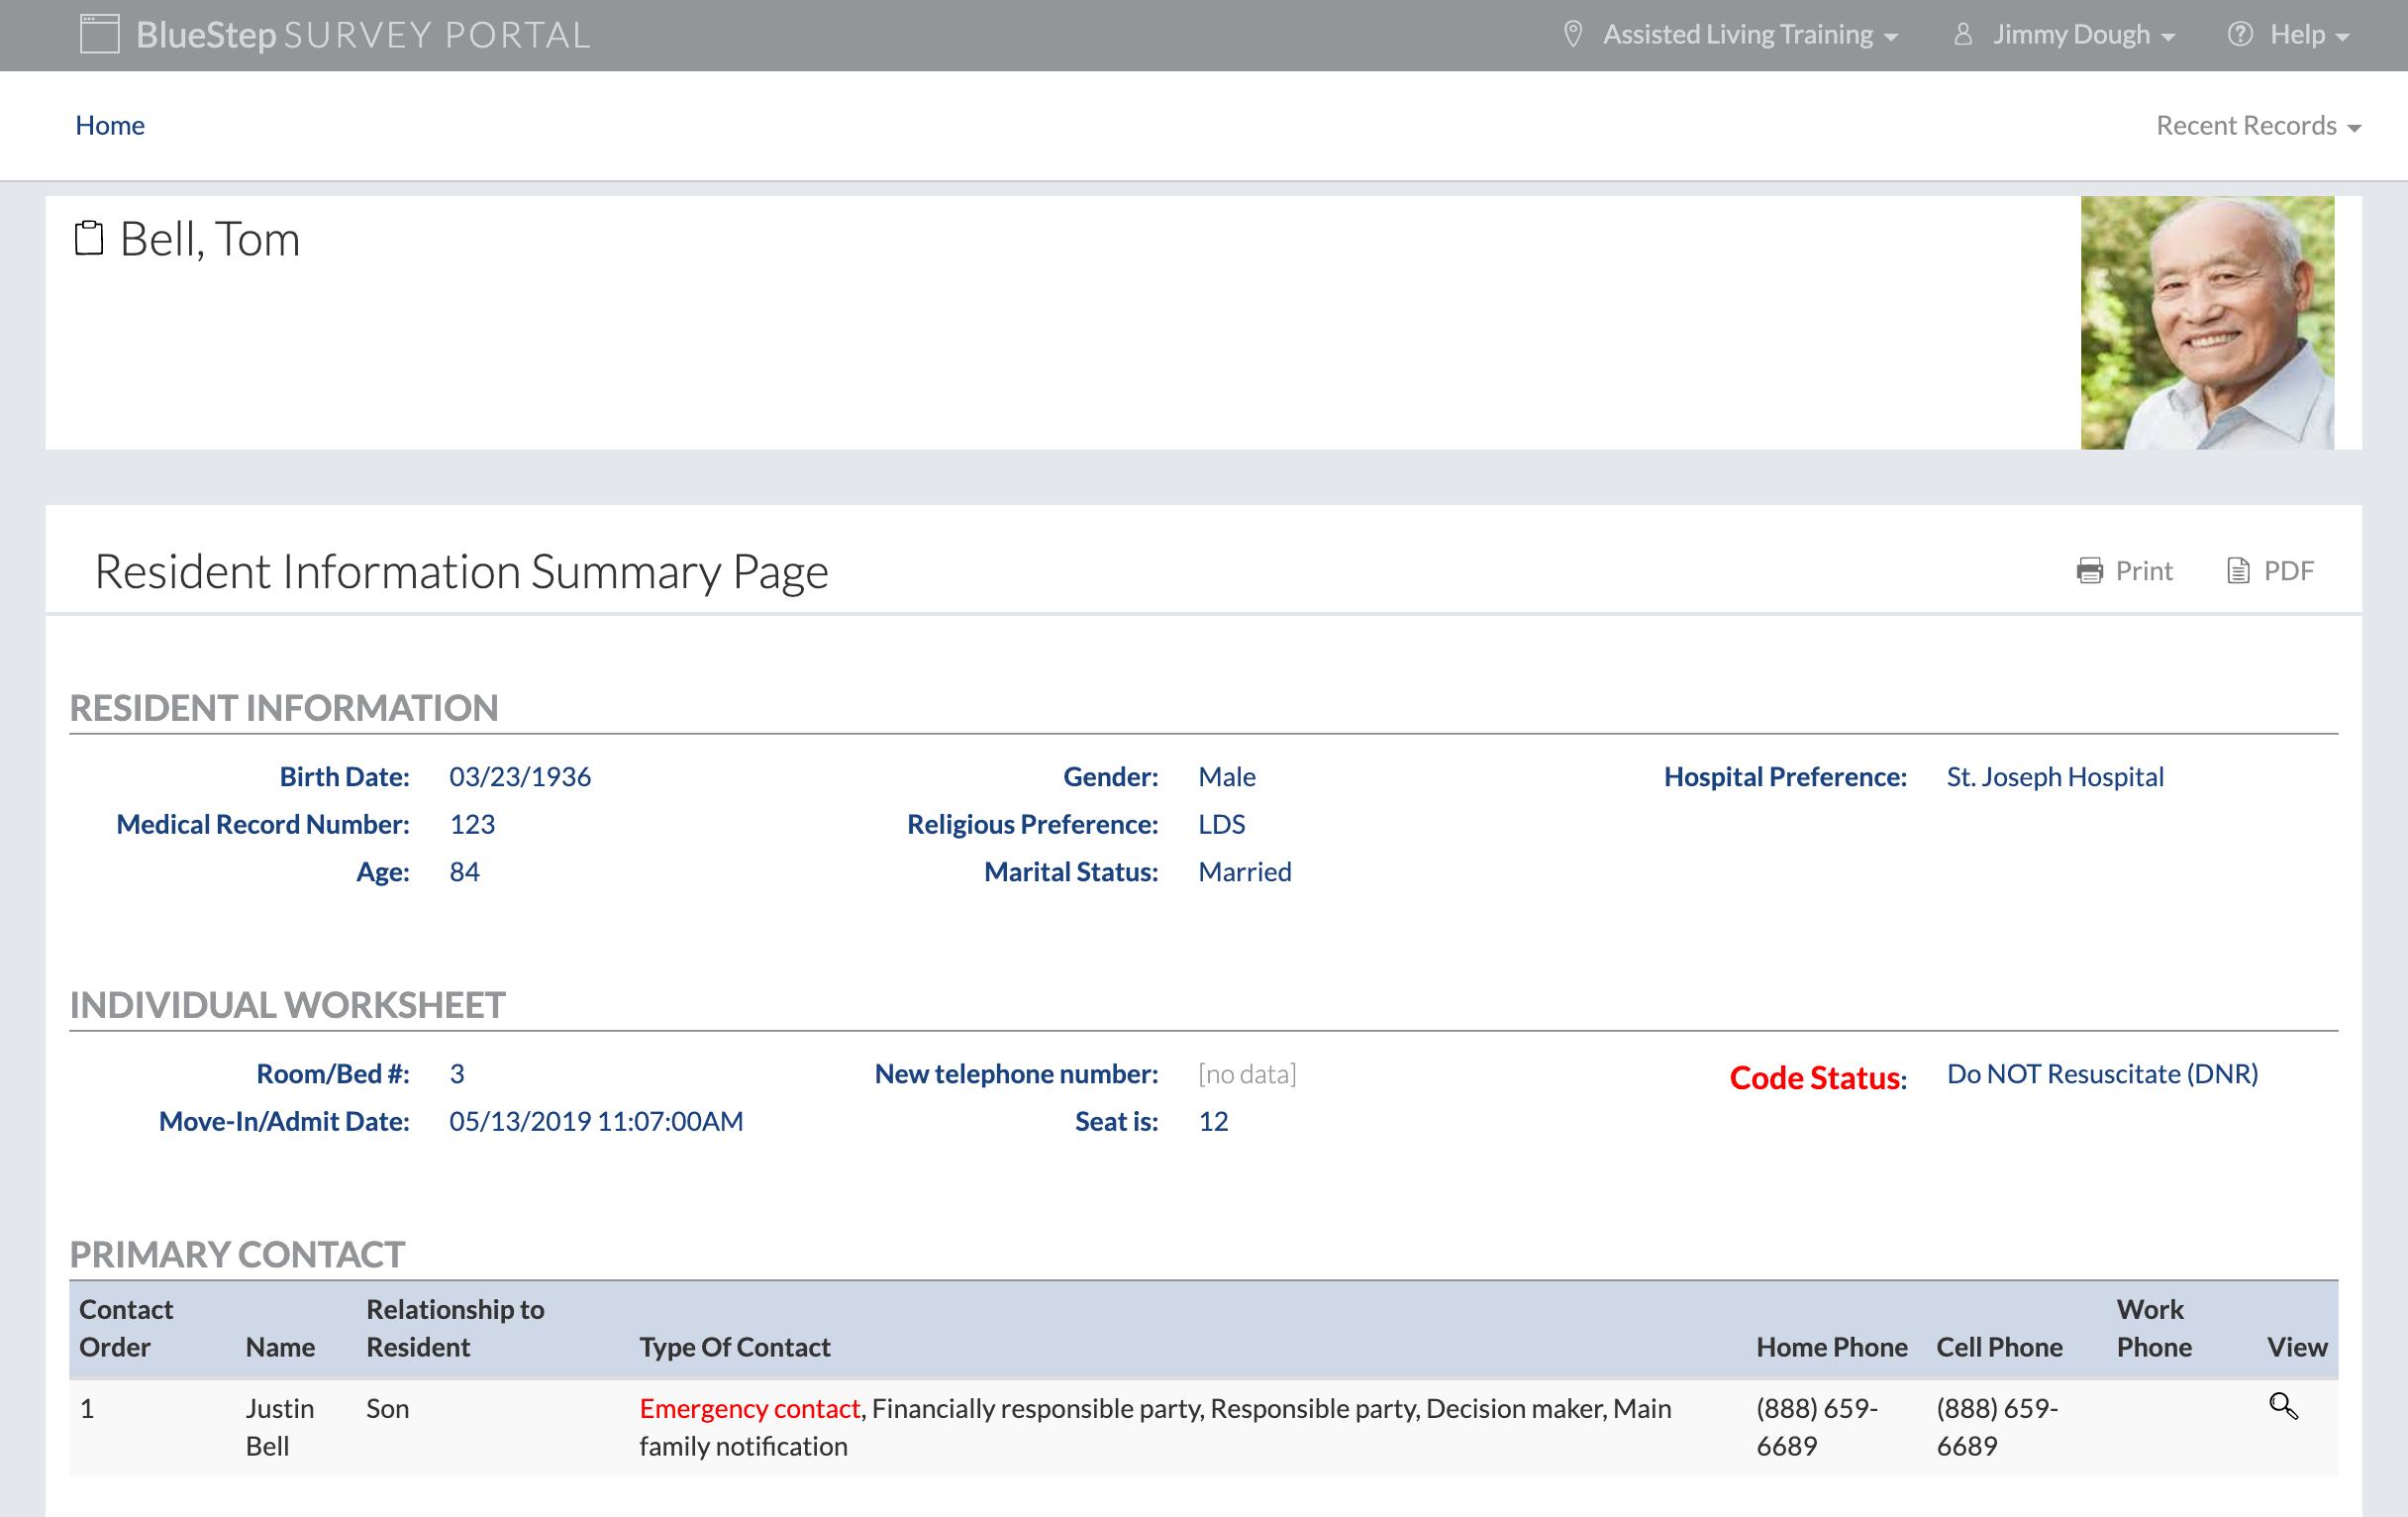
The Surveyor's View of the Survey Portal

  1. To get an idea of what they surveyor's view looks like, click on "All Surveyors" under the "Providers/Vendors" tab.
  2. Click on the "Survey Portal URL" link. The "Survey Portal URL" is the URL that will be given to the survey team. It's recommended that the survey team use Google Chrome.
  3. Log into the Survey Portal using the login information of one of the surveyors.
  4. The homepage of the Survey Portal shows a list of all the residents that the surveyor has access to.
  5. Click on any resident's name to view their record. Remember, the amount of information that surveyor has access to can be set on the resident's record.